
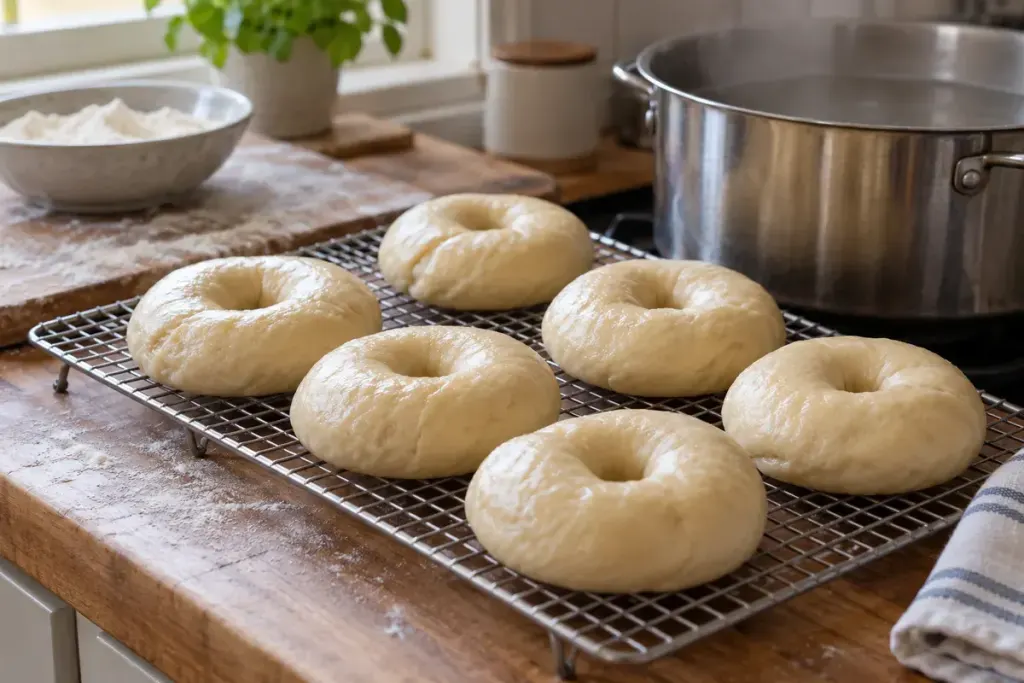
The bagel’s journey from shaped dough to oven includes a pause that surprises many new bakers: a water bath. Skip that stage and you may still bake an enjoyable bread ring, but you have changed the process responsible for its characteristic surface.
King Arthur Baking’s explanation of bagel making describes how boiling gelatinises starch on the exterior. That early setting of the surface contributes to the crust’s gloss and chew. The water bath is therefore part of building the bread, rather than simply warming it before baking.
Make the landing place first
Before heating the water, arrange the tray or rack where the bagels will drain, the baking tray they will move to, and the toppings specified by your recipe. Put a suitable slotted utensil within reach. Trying to prepare all three while handling wet dough makes a short, manageable stage unnecessarily awkward.
Use a complete recipe for the dough, proofing and bath. Some formulas include malt syrup, honey or other additions; their quantities belong to that formula. Adding an improvised handful of ingredients to plain water is not a reliable shortcut to the same crust.
Watch the dough as well as the timer
Work in batches with enough space to turn each piece gently. Follow the recipe’s time on each side and avoid squeezing the bagel against the pot with your utensil. If several pieces stick together, reduce the number in the next batch instead of trying to force them apart in crowded water.
After baking and cooling, cut one bagel and make three notes: how the crust bites, whether the centre is fully baked, and whether the ring kept its shape. Record the bath time beside those observations. For your next attempt, change one relevant variable while keeping the dough formula and baking conditions consistent.
A photograph of the finished bagel can show colour and shape; the cut surface and your tasting notes tell you what the photograph cannot. Together, they are more useful than deciding that every darker bagel needs a shorter boil.