
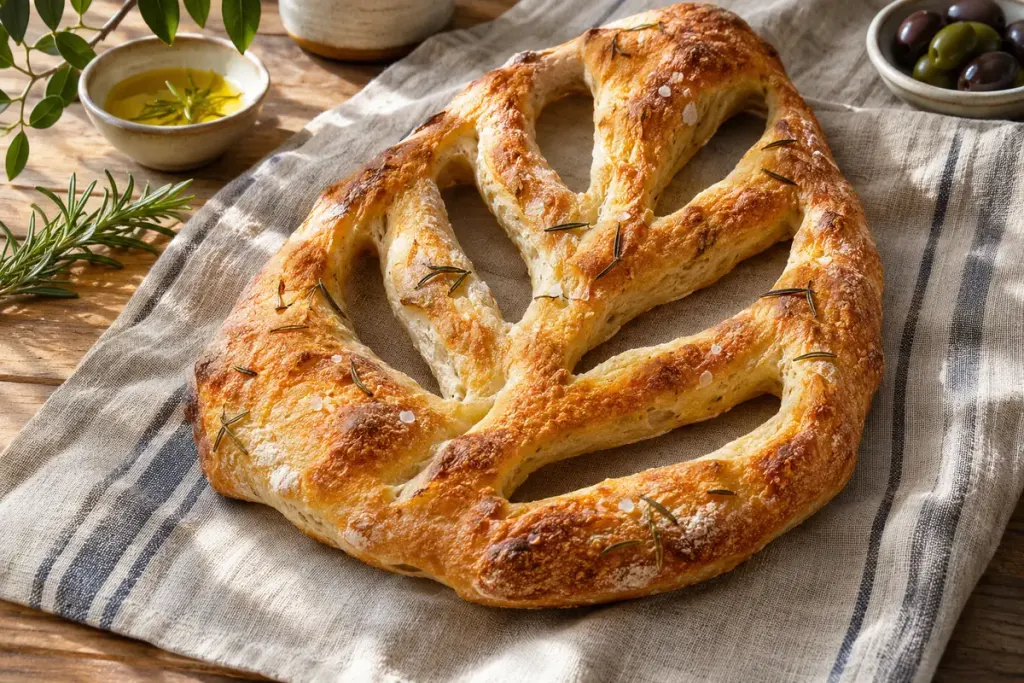
The most inviting part of a fougasse may be its empty spaces. Long openings divide the loaf into narrow sections with plenty of crust to tear and share. If those openings close during baking, the bread can still taste good, but the shaping has lost the feature you worked to create.
Unlike a shallow score on a round loaf, a fougasse cut passes through the dough. King Arthur Baking’s shaping demonstration shows a central slit and diagonal branches, followed by gentle stretching to turn the cuts into real openings. The widening matters because the dough will continue to expand.
Give the leaf a connected outline
Begin with a tested fougasse recipe and follow its dough preparation and rise schedule. Shape on the surface that will carry the bread to the oven when the recipe allows it. Moving a fully opened, delicate shape afterwards can pull one side longer than the other.
Leave dough connecting the ends of each slit. You are making windows inside a loaf, not cutting the loaf into separate strips. After opening a cut, look at the surrounding bridges: a very thin bridge beside a thick outer edge will bake differently and may tear during handling.
It helps to pause and view the whole shape rather than perfecting one opening repeatedly. If the dough keeps springing back, follow the recipe’s resting guidance rather than forcing it until a narrow section breaks. Keep additions such as olives distributed so a large piece does not become the weak point in a bridge.
Read the baked result
Photograph the shape before its final rise and again after baking. On the next batch, change one shaping detail: perhaps the opening width or the thickness of the outer edge. Keep the dough quantity and recipe otherwise consistent so the comparison means something.
Do not chase a perfectly symmetrical leaf at the expense of an even bake. A slightly irregular fougasse with open spaces and balanced thickness is often more useful at the table than an elaborate pattern whose narrow tips darken while the centre remains pale.