
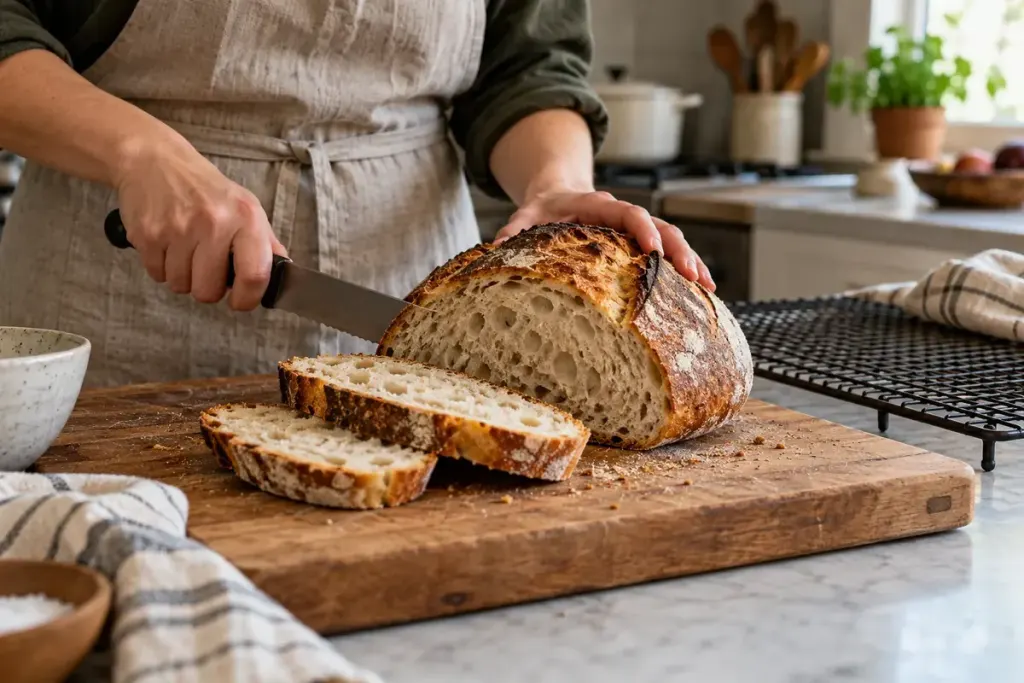
The crust crackles, the kitchen smells wonderful and the first slice sticks to the knife. Before rewriting your bread recipe, ask a less exciting question: had the loaf actually finished cooling?
King Arthur Baking’s guide to checking bread doneness advises letting bread cool completely before slicing to avoid a gummy interior. A loaf that looks ready on the outside can still give you a misleading impression when cut while hot.
Give the first loaf a fair comparison
Follow the recipe’s cooling instructions, including whether to remove the bread from its tin. Leave room around the loaf on a suitable rack. Do not decide that a fixed short wait suits every bread: a small roll, a large sandwich loaf and a dense rye loaf are not interchangeable.
For your next bake, record three things beside the recipe: when the loaf left the oven, when you first sliced it and what the centre looked like. Keep the recipe and loaf size unchanged for that comparison. This is more informative than simultaneously adding flour, extending the bake and changing the tin.
If the cooled crumb is still sticky
Cooling is one variable, not a cure for every baking problem. Review the recipe’s own doneness indicators, the actual ingredient weights, the pan used and the fermentation schedule. A photograph of the whole slice can help you describe whether the problem is a compressed band near the base, a wet-looking centre or an otherwise even crumb that simply clings to the blade.
Use a clean bread knife and a gentle sawing motion so that crushing the loaf does not become another variable. Compare like with like: a rich, moist loaf should not be judged against the dry, open texture of a different bread.
If you want warm bread for serving, reserve that decision for the table. For diagnosing a recipe, a properly cooled sample gives you a much clearer starting point.