
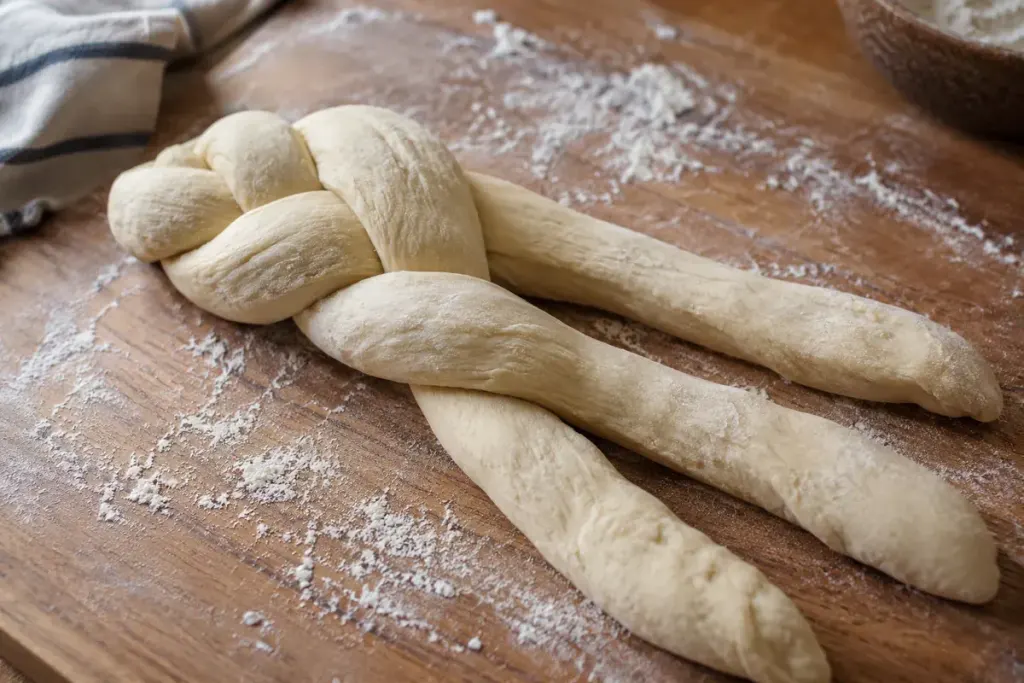
A braided loaf often starts going crooked before the first crossing. One rope is heavy in the middle, another is stretched thin, and the third is shorter than both. Once those pieces are woven together, the unevenness becomes harder to correct.
Make the three pieces comparable
Use a bread recipe designed for braiding and reach its stated shaping stage before dividing the dough. Weighing the three portions gives each strand a similar amount of dough. Roll them gradually to comparable lengths and thicknesses, with only enough flour to prevent sticking.
If a rope repeatedly springs shorter, cover it and let it relax briefly according to the recipe rather than pulling harder. Stretching an unwilling piece can leave a narrow weak section. Work on the other ropes while it rests, then return with gentler pressure.
King Arthur Baking’s braided challah recipe provides a complete dough and baking method. Its shaping guidance is a useful starting point when practising this technique; the braid alone does not determine the proofing or oven time.
Follow the strand that is in the middle now
- Arrange the three ropes side by side and secure their starting ends together.
- Bring one outside rope over the middle rope.
- Bring the opposite outside rope over the new middle rope.
- Repeat without stretching the crossings tight, then secure and tuck the finishing ends.
The word “new” matters. A strand changes position after every crossing. If you lose your place, stop and identify the middle rope instead of pulling several strands at once to make the pattern look right.
Leave the braid comfortably woven rather than cinched. The dough still has to expand. Support its length when transferring it to the prepared tray, and place it where the recipe allows room for that expansion.
Use the next loaf as a controlled comparison
Photograph the shaped braid before its final rise. After baking, compare the wide and narrow sections with that photograph. If the same thin section remains obvious, improve the rope shaping next time. Changing the flour, proofing, braid tension and oven setting together makes that small lesson much harder to see.