
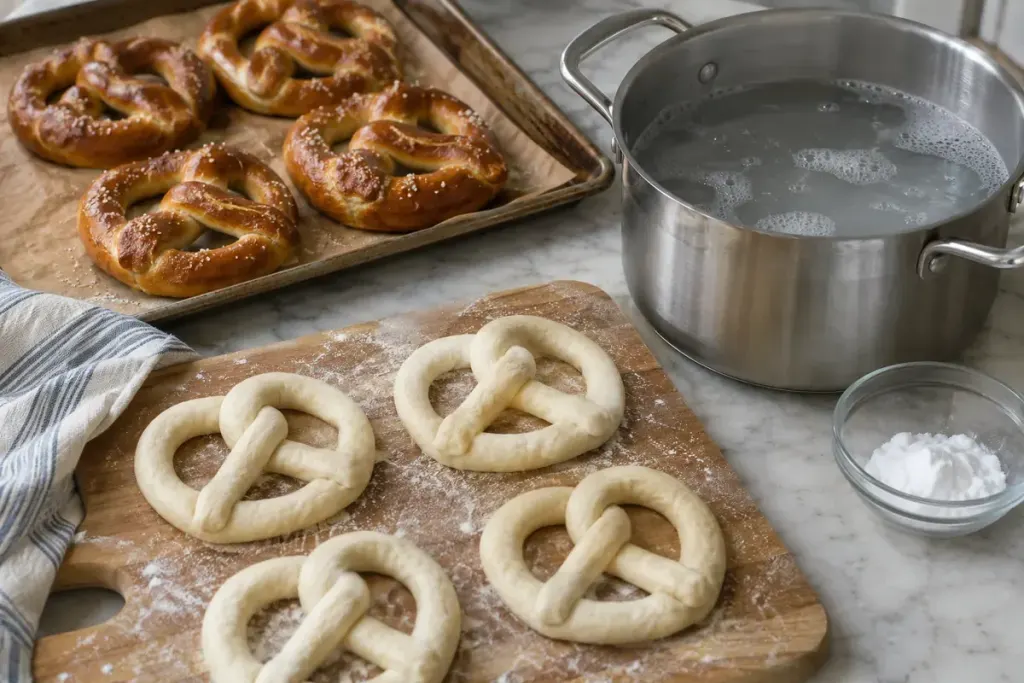
A pretzel gets much of its identity before it reaches the oven. The shaped dough takes a brief dip in an alkaline bath, then bakes into a crust with a distinctive colour and flavour. Skip that stage and an otherwise successful dough can feel much closer to an ordinary bread roll.
For a home recipe designed around baking soda, use that recipe’s concentration, water temperature and dipping time as a set. A stronger bath is not a shortcut to a better result.
Understand what the bath is changing
The alkaline treatment changes conditions at the dough’s surface, helping the characteristic browning during baking. King Arthur’s pretzel-making guide explains the difference between baking-soda and traditional lye approaches. They are not interchangeable ingredient swaps. This article concerns recipes written for ordinary food-grade baking soda, not instructions for handling lye.
Think of the bath as a surface treatment within a complete method. Dough consistency, proofing and oven conditions still matter. It cannot repair a weak shape or make an underbaked centre ready simply because the outside has become dark.
Arrange the work before the first dip
Set the prepared tray near the bath, with enough clear counter space to lift and drain each piece. Choose a broad tool that supports the pretzel rather than pulling it by one loop. Keep the handles of hot equipment away from the working edge.
Work in the batch size the pot can comfortably hold. Crowding encourages pieces to stick together and makes the timing less consistent. If a pretzel loses its shape during transfer, note whether the problem began during shaping, proofing or lifting instead of immediately changing the bath.
For a useful first comparison, keep one dough batch and one recipe. Record dipping time, whether the pieces held their shape, and the finished crust after cooling. Change only one detail on a later bake. A photograph of the same tray position can be more informative than a general note saying “too brown.”
Follow the chosen recipe for draining, topping and baking. The small pause between dipping and the oven is a good time to check that the surface is ready for its topping and that the tray is not carrying puddles of liquid. Organising that handover makes an unfamiliar method much easier to repeat.