
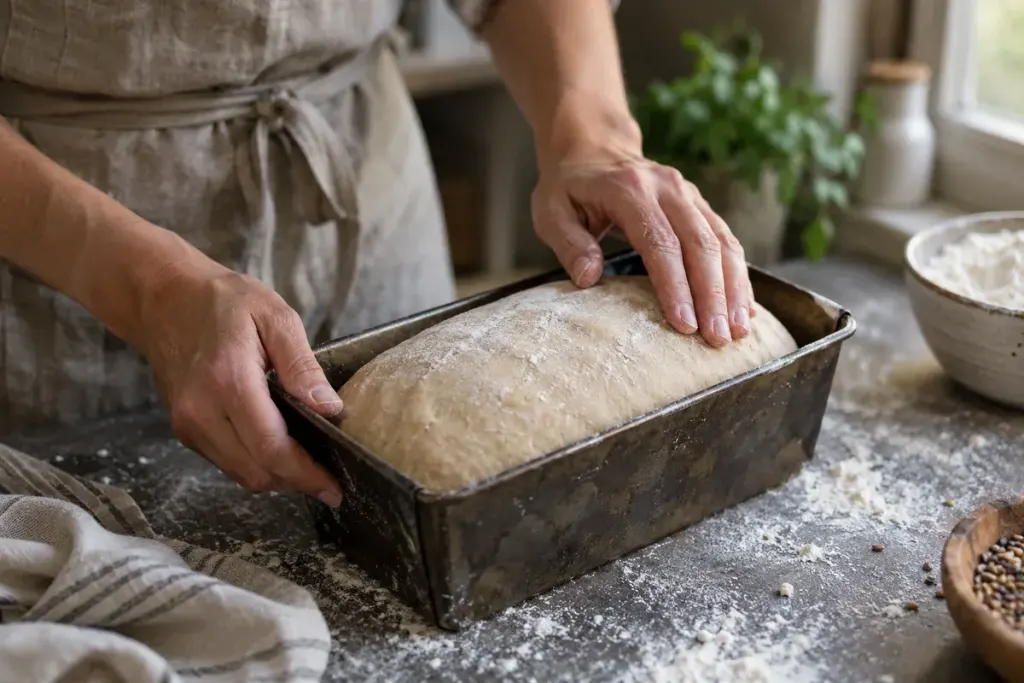
The recipe says the shaped loaf needs another hour. Forty minutes later it already looks impressively high; on another day, the same dough barely moves. Which version should you trust—the clock or the loaf?
Use the time as a window for observation. The final rise depends on the dough and its surroundings, so readiness is better judged by several clues together. A useful check asks whether the dough has expanded as expected, feels aerated rather than dense, and responds appropriately to a gentle touch.
Start with the recipe’s particular loaf
A tin loaf gives you the pan rim as a reference. Rolls, a free-standing boule and enriched dough have different shapes and may have different instructions. Photograph the shaped dough at the beginning of its final rise; the comparison often makes gradual expansion easier to notice.
Do not assume that every dough must double at this stage. Follow the visual cue in the tested recipe you are using. A small pan, a different quantity of dough or a change of flour can make a familiar height misleading.
What a gentle poke can tell you
In its guide to judging risen dough, King Arthur Baking describes a lightly floured finger test during the second rise. Dough that springs straight back may need more time; an indentation that remains can indicate readiness. Very fragile dough that collapses can have risen too far.
Treat that response as one piece of information, not a universal numerical test. A cold dough or a recipe with unusual ingredients may feel different. Touch one small area gently rather than repeatedly prodding the entire surface. Compare the result with the recipe’s photographs and notes.
Prepare the oven before the final decision
A loaf that looks ready cannot wait indefinitely while you look for the baking tray and then start heating the oven. Read the whole method before proofing. Arrange the rack, prepare any specified baking equipment and allow the preheating time your oven and recipe require.
Keep dough away from uncontrolled heat sources. A radiator or very warm oven can make a convenient-looking proofing spot difficult to judge. A reasonably consistent location is more useful for learning than chasing the fastest rise.
Make the next loaf easier to read
After baking, write down the approximate room conditions, the final-rise time, what the dough looked like and how it felt. Add a photograph of the cooled, cut loaf. Change one major variable on the next attempt so the comparison tells you something.
If the dough seems overproofed, consult the recipe or baker’s troubleshooting advice before improvising a rescue; not every formula responds equally to reshaping. The goal is not to memorise a perfect number of minutes. It is to recognise the signs of this dough in your kitchen.