
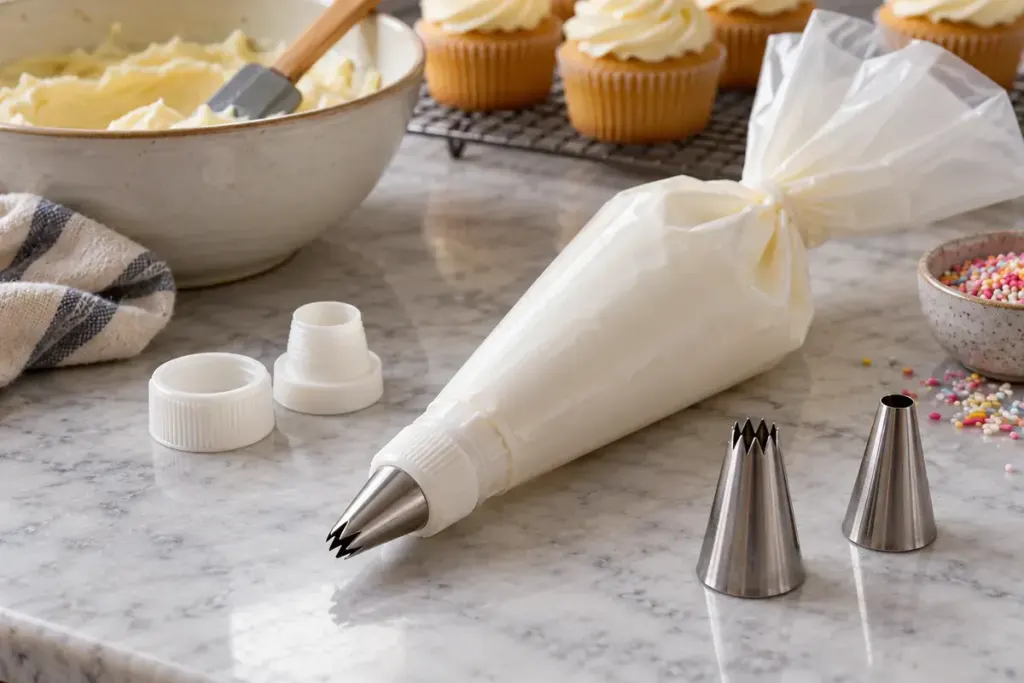
You want to pipe a border and then add small stars using the same icing. A compatible coupler can let you change tips without emptying the bag. The useful preparation happens before the icing makes every adjustment sticky.
Wilton’s decorating-bag instructions show how a bag, coupler base, tip and retaining ring fit together. Different sizes and specialist tips may need different arrangements, so check compatibility rather than assuming every ring fits every nozzle.
Make the opening gradually
Test the coupler base in the empty bag and follow its instructions for marking and cutting the opening. Cut conservatively. If the hole is too large, tightening the outer ring may not rescue the fit, and pressure can push the assembly out of place.
Assemble the chosen tip and ring, then check that the pieces sit correctly without cross-threading. Do not force a ring that does not match. If you only need one tip, the manufacturer’s instructions may allow a simpler setup without a coupler.
Leave room to control the bag
Fold back the upper edge while filling and use a manageable amount of icing. Overfilling makes it harder to close and hold the bag consistently. Remove large trapped air pockets as appropriate and make a test pattern on a suitable practice surface before approaching the cake.
When changing tips, keep the icing from being squeezed through the exposed base. Put the removed tip somewhere clean, fit the replacement securely and test again. A different opening changes the amount of icing delivered, so the same hand pressure may not create the same-sized decoration.
Clean reusable pieces according to their care instructions and let them dry before storage. A coupler is a small convenience, but correct fitting makes the decorating session smoother than trying to repair a slipping nozzle halfway around a cake.