
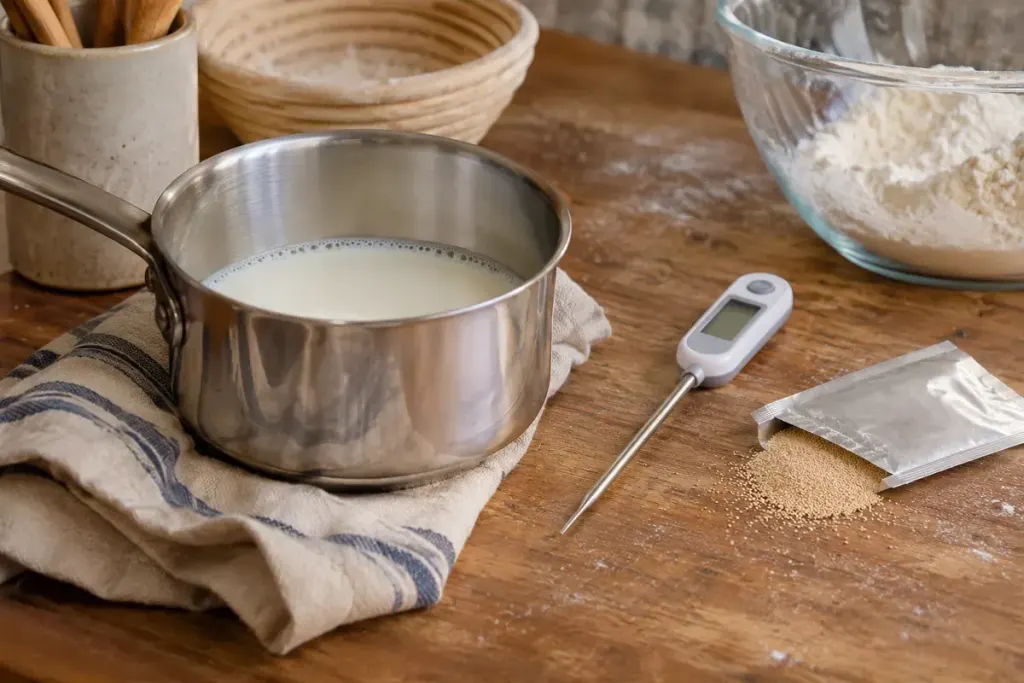
A bread recipe says “scald the milk”, then later asks you to add yeast. Those instructions need a cooling stage between them. Milk hot enough for the first job is not automatically suitable for the second.
Red Star Yeast’s baking guidance discusses why scalding appears in older bread recipes and the effects of milk components on dough. The practical point is to follow the tested recipe’s sequence rather than interpreting “warm liquid” and “scalded milk” as interchangeable descriptions.
Read forward before heating anything
Check whether the recipe adds butter, sugar or cold liquid to the hot milk. Those additions affect its later temperature. Also check whether yeast is being dissolved separately or mixed into the flour; the yeast maker may give different liquid-temperature instructions for those methods.
Use a clean food thermometer and stir before measuring so you are not reading only a hotter or cooler pocket. Avoid touching the saucepan base with the probe. Do not use the elapsed time alone: a shallow bowl and a deep saucepan will cool differently.
For a useful kitchen note, record the milk temperature immediately before the yeast stage, along with the container used. If a batch rises slowly, that gives you a real observation to examine rather than a memory that the milk “felt about right”.
Keep the cooling step inside the recipe
Do not add an unmeasured splash of water merely to cool the milk quickly. That changes the dough’s liquid quantity. If the recipe provides a cooling method, use it; otherwise allow the measured milk to reach the required temperature without changing the formula.
King Arthur’s yeast-baking guide also explains the role of liquid temperature in fermentation. Warmth can influence the pace, but hotter is not an unlimited improvement.
Keep the yeast packet instructions beside the recipe until mixing is complete. The most useful habit is simple: heat for the preparation step, measure again for the yeast step, and treat them as two decisions.