
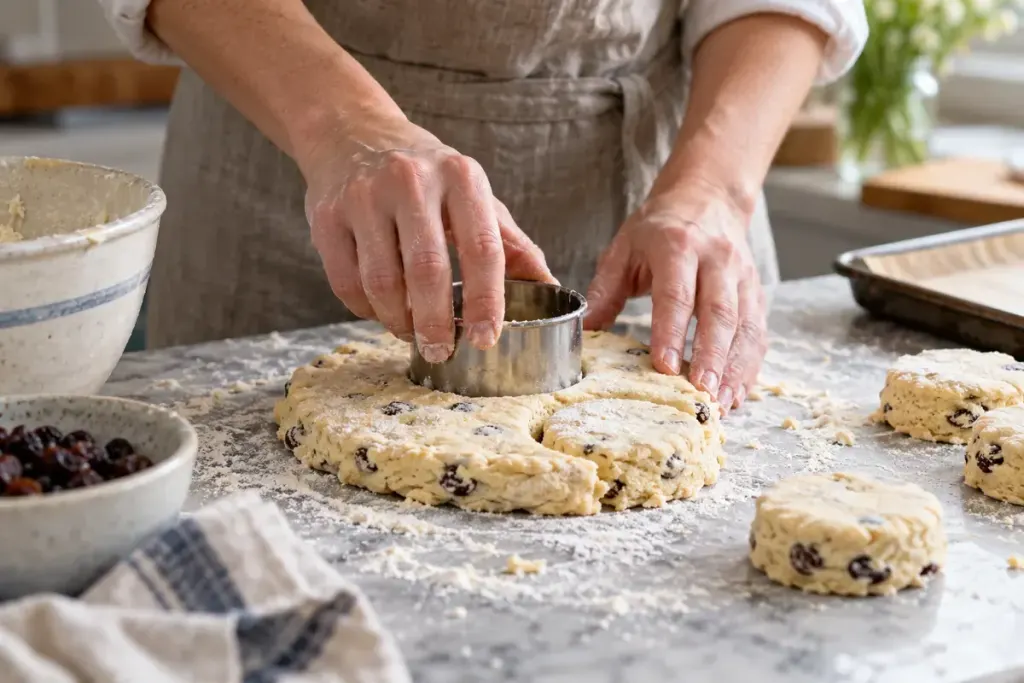
Round scones can look neat on the tray yet rise unevenly in the oven. Before changing the recipe, look at the moment you cut the dough. A blunt rim, repeated twisting and extra handling make it harder to keep a clean edge.
Choose a sharp pastry cutter that is tall enough for the dough. Press down firmly, then lift it straight up. If the dough sticks, lightly flour the cutter and tap off the excess. Avoid sawing around the circle to free it; release the dough gently instead.
Shape for the texture you enjoy
King Arthur Baking’s shaping guide explains that sharp cutting tools help preserve rising edges, while blunt drinking glasses can compress them. It also distinguishes closely spaced scones with softer sides from well-separated ones with more exposed crust. Follow your recipe’s thickness and spacing first, then change one feature on a later batch.
Cut the first rounds close together. Gather the remaining pieces gently and press them into another small slab rather than repeatedly kneading them. Keep those final rounds identifiable on the tray: they are useful evidence of how much handling the dough tolerated.
- Measure the slab at two or three points so one side is not much thicker.
- Make each cut in one downward movement.
- Transfer the rounds without squeezing their sides.
- Brush only the area your recipe specifies, keeping excess glaze from pooling around the base.
- Bake at the stated temperature and check the recipe’s doneness cues.
For a useful kitchen comparison, photograph the tray before baking and again after cooling. Note which rounds came from the scraps and whether the spacing was consistent. Do not judge the method from height alone: a tall scone can still be dry, while a softer, shorter one may suit your breakfast better.
If the whole tray remains dense, return to ingredient measurements, leavening freshness and dough handling. A clean cut improves one stage of the process; it cannot repair every earlier mistake.